Uncertainty
Uncertainty is how much we can be wrong about the average made with infinite measurements. Given, then, an average of N measurements and an average of infinite measurements, the uncertainty is how far one is from the true average.
Test here the Uncertainty Calculator in the Calibration Certificate Generator Online.
To explain better, let’s think about a measurement which was made in three readings. In this way, the average of these three readings will have a good result. But if we take the average of 5 readings the average will be better. Likewise, if we calculate the average of 100 readings it will be even better and closer to the real average.
Keeping that in mind, the more readings I do, the closer to the true average my result will be. Therefore, the more readings, the lower the uncertainty of the mean.
I believe you can understand the basic concept of uncertainty. But this matter does not end there. There is still a lot of concept attached to measurement uncertainty.
A tool that helps a lot to make these calculations is a calibration and metrology software . With it you will be able to meet the standards required in the market. Not to mention the fundamental quality and practicality for calibration and metrology services.
To see the post about measurement concepts click here: Calibration, measurement concepts .
Degree of freedom
The degree of freedom is identified by the Greek letter 
![]() (nü). Therefore, we consider the number of readings ( N ) to calculate the degree of freedom. The number of dimensions is also considered. Generally, for simple measurements (with only 1 dimension) we use the formula:
(nü). Therefore, we consider the number of readings ( N ) to calculate the degree of freedom. The number of dimensions is also considered. Generally, for simple measurements (with only 1 dimension) we use the formula:

Calculation
The measured values, whose uncertainties are calculated, are comparable with reference measurements. The average of the readings, in different instruments, can show that there are a variety of values in relation to the average itself. The data is verifiably monitored, where the information is officially provided on the instrument, it can be a digital display monitor, or it can be an analog pointer. In addition to resolution, and instrument divisions, sometimes the values are not repeated. They are not necessarily stable. The evaluations show that eventually the readings vary according to some influences.
Test here the Uncertainty Calculator. The elements that cause these uncertainties have a wide range of possibilities. Therefore, the uncertainty calculation must be used, to sum with the calculated error of the instrument, in relation to the reference standard. The settings, performed in the calibration procedure, must be defined according to the equipment’s characteristics, and also, with its area of use.
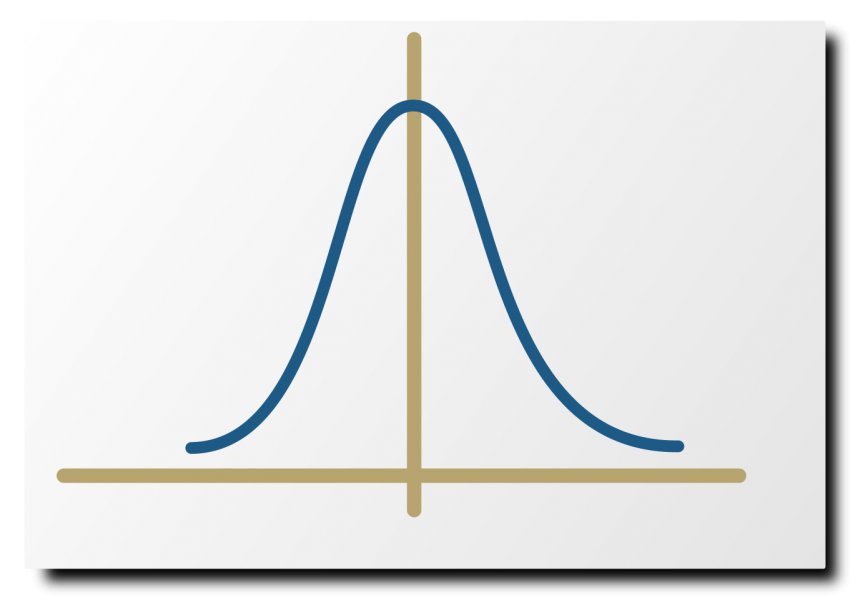
Uncertainty calculation can gather standard deviation with t-Student. Generally, in the end, the degree of uncertainty is 95.45%. Another important factor is the curve. It can be normal curve, rectangular curve, triangular curve, etc.
Interference
In addition to the mean, the uncertainty is also influenced by calculating the uncertainty of the reference standard. The uncertainty of the standard influences the final calculation. The reference measures also have uncertainty, so they are also associated in the correlations with the results in parallel. Another item, which changes, and generally increases uncertainty, is the instrument’s resolution. The resolution, or division, shows that the measurement has a minimum acceptable value. Therefore, verification is highly dependent on this information as well. Applicable directly in the calculation.

