Calibration certificate is the document with the measuring instrument calibration data. Calibration contains the comparison between the instrument data and the reference.
The simple online calibration certificate calculator:
Calibration Certificate Online
The instrument measurement data is placed in the document.
The calibration certificate is used to check instrument errors and uncertainties.
Errors and uncertainties must be within tolerance.
Tolerance varies according to instrument use.
Hydrometers, load cells, pressure gauges, etc.
The calibration certificate must use the appropriate standard.
A standard used for instrument calibration in a metrology laboratory is ISO 17025.
For uncertainty calculations, ISO GUM is used
The certificate, according to some standards, must contain this information:

Certificate number
The certificate number officially represents the calibration identification. This value is very important to relate the certificate to the calibrated instrument. It must not be repeated. It must be individual for each instrument. And even after the calibration validity expires, when a new certificate is made, it must be different.
Identification of the measuring instrument.
The measuring instrument can have several identifications. Examples: name, serial number, instrument type, manufacturer, make and model.
It may have specific codes for the calibration laboratories, or for the company that will use the instrument.
Range and unit
The instrument can have only one calibration range and unit. But sometimes it has more.
The unit is the base measurement standard for the instrument. Examples: V (Voltage), mm (millimeter), Bar (pressure), etc… Units must be calibration specific. Each unit has a specific reference. Sometimes they can be converted mathematically. But the unit must be officially set as the measurement standard. The instrument can have one or several units. For example, Multimeter, which has several units: Voltage, Current and Frequency.
The range is the definition of the initial and final value of the measurements. Measurements must be within this range. Calculations are performed based on it. If values are out of range, calculations may be out of reference. Therefore, the calibration must be within range. Some instruments only have a defined range. Other instruments have multiple tracks in the same unit.
Procedure
The procedure is the official document that explains how the calibration was performed. The document number is usually placed.
Sources of uncertainty (patterns)
The standards, which are the instruments or objects used as a reference or comparison in calibration, must be placed as well. They must contain the identification of the standard instrument. Usually with their calibration range. They are set as a reference and the measured instrument to be calibrated is compared, or, the instrument to be calibrated is set as a reference, and the standard instrument is compared as a measurement. It is important to put the number of the calibration certificate of the standard and the name of the company issuing the certificate. Also its calibration date.
When it’s a weight scale, sometimes the reference standards are specific weights. Their values are considered nominal. But another scale can also be used as a standard.
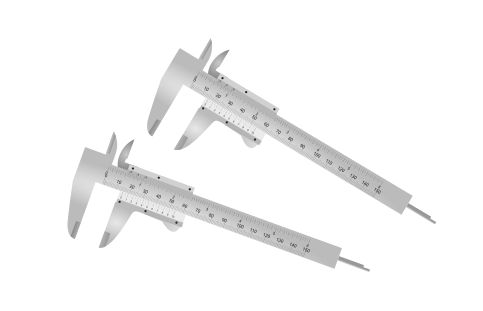
In the case of a pachymeter, for example, standard blocks are generally used. Also with nominal definitions.
Digital or analog instruments, others of the same type can be used as a reference.
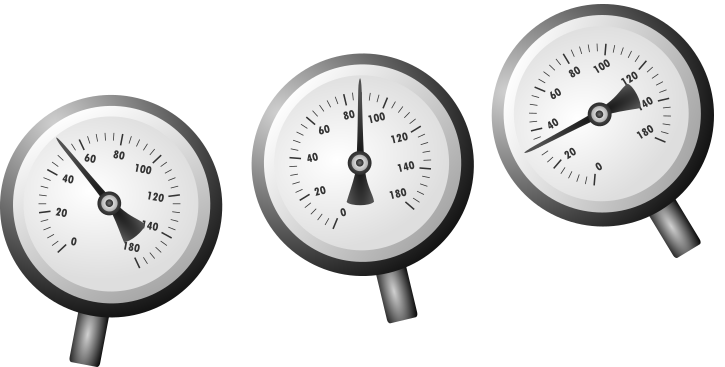
Manometers, multimeters, anemometers, thermometers, sphygmomanometers, hydrometers, etc.
In any case, standards must have their calibration certificates available. The calculations are performed according to the information of the uncertainties and errors of the standards.
Resolution
Resolution is how many significant digits the value can be measured. For example, when the resolution is 0.01, then the values are measured from 0.01 to 0.01, thus 5.11, 5.12, 5.13. Resolution interferes with measurement uncertainty calculations. There are several forms of uncertainty curves. For example in digital or analog cases. Each track and unit has a specific resolution.
Calibration data
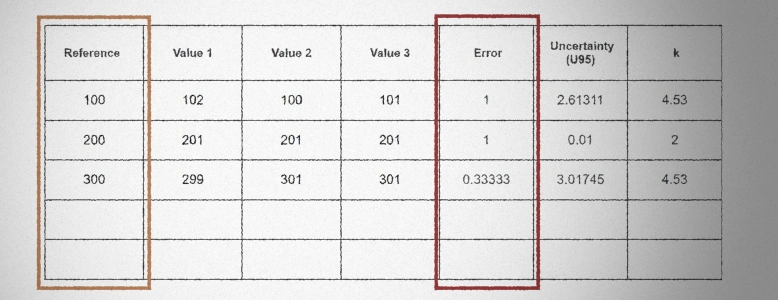
Calibration data can contain references, measured values, errors, measurement uncertainty calculations, and degrees of freedom. The errors and uncertainties are also calculated with techniques with inheritance of the patterns sources of uncertainty as well. Instrument measurements must be repeated. These repetitions help to define the measurement uncertainty.
In the end, errors and uncertainties are used as a basis for comparison against tolerance. Tolerance is the maximum permissible error that the instrument is allowed to have in its area of use.
Sometimes specific information or calculations must be added for each instrument type. For example, in the case of the Manometer, the fiducial errors and hysteresis are usually placed, calculated in percentages.
Eccentricity and repeatability of the weight balance are also calculated and available in the calibration certificate.
At the end of the list of calibration data, the largest error plus uncertainty is usually calculated. The error plus the maximum uncertainty is also used as a comparison with the tolerance.
Calibration in metrology is not the adjustment of the equipment, but the comparison of reference values with the equipment. Sometimes the equipment is adjusted to lessen the error. Then the calibration before adjustment is placed on the certificate, and the calibration after adjustment. Linear or polynomial correction factors can also be calculated. And available on certificate too.
Calibration date
The calibration date is when it was calibrated. The date is important to have a reference of the validity of the calibration. Validity is the maximum time that the calibration is likely to be maintained in practice.
Responsible
The identification of the person in charge corresponds to the approver of the calibration certificate. Sometimes, the person responsible is not necessarily the operator. But the operator can also be placed in the document.
Ambient Temperature, Pressure and Humidity
The calibration environment can influence the results. For example, temperature can change dimensions, ambient pressure can change scale references. Therefore, it is important to put in the certificate, the values of temperature, pressure and humidity of the environment that was calibrated. Keeps with reference in comparing values.
Notes
Calibration procedures and results may have specific cases. This information can be officially placed on the certificate.
Repeat
Calibration certificate, it is very important to verify, if the errors of the values measured by the equipment are within the tolerance.
Each equipment must have its calibration certificate. But in practice, an expiration date is set. Anyway, the calibration is redone from time to time. For example, once every year. Sometimes a graph of the error history is made to analyze the durability of the equipment.

